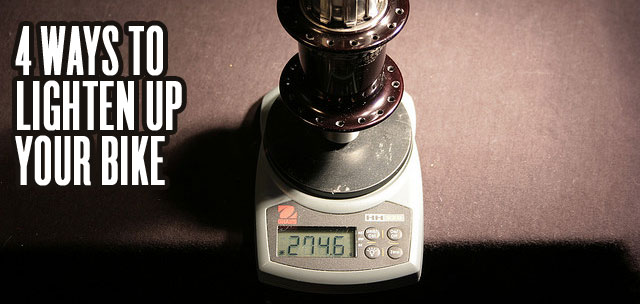
Lighter bikes require less energy to move. All things created equal (geometry, trail, etc) the lighter your bike is…the longer and faster you can ride. We are even seeing this translate to downhill bikes as full carbon 10″ travel sleds are becoming a reality.
The BIG PROBLEM for the mountain biker…
To lighten up your bike these days, it almost requires you to pull out a second mortgage on your house! Bike parts are getting more expensive by the day and that is not going to change. So how do we lighten our bikes up on the cheap?
4 Cheap Ways To Lighten Up Your Mountain Bike
- Lighter Tires – Rotational weight is where you are going to see the most drastic increase on the trail. Your tires are the farthest away from the axle, so they provide the biggest return outside of rim choice. By saving a hundred grams at the tire, it takes less effort to get things rolling and keep them rolling.
- Go Tubeless – By dumping cheap, heavy tubes and converting to a tubeless setup, you can drop a couple of precious grams of rotational weight while decreasing rolling resistance at the same time…given that your wheels are tubeless compatible (most are now days via some kind of strip system). When this is combined with the lighter tires, it is even more of a drastic effect.
- Used Suspension Fork – New suspension forks are extremely expensive. However, the used market is a great option if your mountain bike has a heavy, boat anchor fork attached to it. You don’t need the latest and greatest, just a solid fork that will get you down the trail. Just be sure to get a fork with the recommended travel for your frame.
- Lose Some Weight Off The Motor – You and your bike are a package deal. The cheapest and most efficient way to lose bike weight is to slim it off of you! Get in some consistent riding and pass on the bacon on your cheeseburgers and you will be surprised at the result. 5 to 10 pounds lighter and in a little bit better shape makes more of a difference on the trail than any one part will.
The key to creating an efficient bike setup without breaking the bank is by making changes where they count the most.
3 Places Not To Spend Money On Weight Reduction
- Rear Derailleur – You are not going to notice a bit of difference by upgrading to a $250+ rear derailleur. You might get a little bit more attention at the trail head, but hat money could have gone to wheels or suspension for an actual weight decrease and better trail experience.
- Saddle – Unless you are a true xc racer or have the extra change just laying around, the difference in price for the same saddle with chromo rails vs ti does not add up. The 3 figure difference in some cases can be better spent where it matters.
- Skewers – I still see riders spending a lot of money on ti skewers for their mountain bikes. The widespread adoption of the thru axle has calmed this down some, but you are not going to be able to tell the difference on the trail for that investment.
The Biggest Change (But not cheap…)
A High Quality Wheelset – Your biggest performance gains and weight savings that can be felt on the trail are going to come from your wheelset. All of your power goes to getting them moving and keeping them moving while you ride. The also just happen to be the largest mass on your bike outside of the frame. Unfortunately, you are also jumping into the $400+ price range.
Weight savings becomes an obsession and competition for many riders. When you are looking to shave the grams on your bike, remember to make changes where they count the most first and do it efficiently for your budget. By taking your time and planning out the process, you will also end up with components that you will be able to move from bike to bike.
Scale Image by SoulRider.222

